
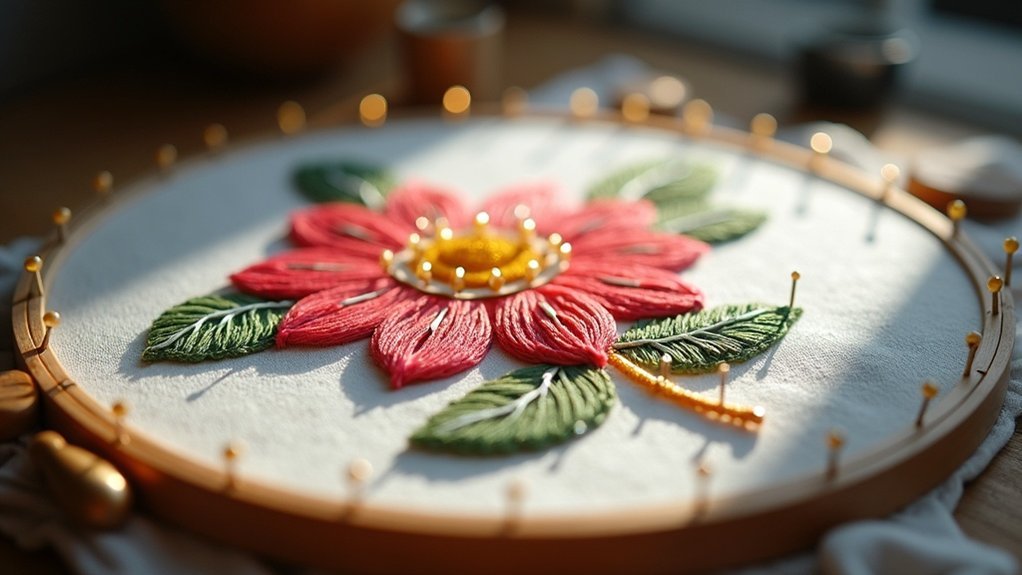
To block your embroidery for a flat finish, first wash it gently in cool water to remove any markings. Lay it flat on a clean surface, using pins to secure the fabric and maintain tension. You can mist the piece lightly with distilled water to help relax the fibers. Ascertain it’s completely dry before framing. Additionally, consider using acid-free materials for longevity. If you face any specific challenges, explore further methods to troubleshoot common issues.
Key Takeaways
- Lay the embroidery flat on a clean surface and mist it lightly with distilled water to relax the fibers.
- Use pins or tacks to secure the fabric to a cork board or ironing board, ensuring even tension across the piece.
- Leave some wash-away stabilizer in place to help maintain the embroidery’s shape during the blocking process.
- Allow the piece to dry completely before removing the pins to prevent distortion.
- Consider using a soft towel to press out excess moisture gently before blocking for optimal flatness.
Importance of Blocking Embroidery
Blocking embroidery is essential because it guarantees your finished piece looks its best, enhancing both its aesthetic appeal and professionalism.
By engaging in blocking, you remove wrinkles and puckering, ensuring the stitches maintain their integrity while keeping the fabric’s shape. This process prevents distortion caused by tension from hoops or frames, resulting in a polished final product.
Regularly blocking clean embroidery before framing not only prevents future staining but also enhances visual clarity when photographing your work.
Ultimately, proper blocking techniques improve the longevity of your embroidery, preserving its shape and preventing warping for years to come.
Materials Needed for Blocking
To effectively block your embroidery, you’ll need some essential materials that guarantee the process is both efficient and successful.
Start with a large cork board or a clean ironing board cover as your base. Gather pins—such as push pins, tacks, or sewing pins—to securely fasten your embroidery project in place, keeping it taut.
Begin with a sturdy cork board or an ironing board cover as your foundation, and gather pins to keep your embroidery taut.
A spray bottle filled with distilled water is vital for lightly misting the fabric, helping to relax the fibers before stretching.
For larger projects, consider stainless steel blocking wires to minimize the number of pins needed, ensuring a clean and effective blocking process.
Washing Your Embroidery
Before you begin blocking your embroidery, it’s important to wash it properly to guarantee a clean, professional finish. You can either run it under cool water until water-soluble marks disappear or swish it in a bowl of cool water with mild soap. Rinse thoroughly to remove any soap residue. Avoid scrubbing; use a soft toothbrush for stains. After washing, gently press the fabric between two clean towels to remove excess water—don’t wring or twist.
| Step | Action | Purpose |
|---|---|---|
| Washing | Use cool water | Remove markings |
| Rinsing | Remove soap | Preserve fabric quality |
| Drying | Press, don’t wring | Maintain shape |
Drying Techniques for Embroidery
Drying your embroidery correctly is essential for preserving its shape and quality. To guarantee your design remains intact, follow these drying techniques:
Proper drying techniques are crucial for maintaining the shape and quality of your embroidery design.
- Lay the item flat on a towel to prevent distortion.
- Use pins or tacks to block the embroidery, maintaining flatness and preventing puckering.
- Avoid forceful rinsing; gently manage the drying process to preserve the design.
- Leave some wash-away stabilizer in place to help maintain the shape and prevent stiffness.
Allow the embroidery to dry completely before removing pins, guaranteeing the fabric remains taut and flat for best presentation.
Step-by-Step Blocking Process
To start the blocking process, gather your materials, including a clean cork board or heavy canvas, pins, and a spray bottle filled with distilled water.
You’ll need to pin your embroidery face-down, ensuring the fabric is taut and aligned properly.
This preparation sets the stage for achieving a perfectly blocked piece.
Prepare Your Materials
Preparing your materials is essential for a successful embroidery blocking process. Gather the following items to guarantee effective damp stretching:
- A clean cork board or heavy canvas
- Quilting pins with large heads for easy handling
- A misting spray bottle filled with distilled water
- A soft towel for drying
Make sure your embroidery is clean and free of dirt or oils before starting.
Pin the embroidery face-down on the cork board, aligning it with the grain lines. Lightly mist the fabric, allowing it to dry completely while pinned to maintain a flat, squared shape for a polished appearance.
Pinning Techniques Explained
Effective pinning techniques are essential for achieving a flawless block in your embroidery.
Start by placing the embroidery face down on a clean cork board, aligning the top edge with a straight line. Secure the center of the top edge with a push pin, then pin outwards towards the corners, ensuring even tension and avoiding buckling.
Repeat this for the lower edge and both side edges, maintaining tautness throughout. Add more pins along the edges to keep consistent tension.
Finally, lightly mist the fabric with water before it dries, setting the stitches and enhancing the overall flatness of your embroidery.
Tips for Effective Damp Stretching
To achieve effective damp stretching, start by ensuring proper pinning technique; pin your embroidery face down, beginning from the center and working outward to maintain tension.
Use a fine mist to lightly dampen the fabric, which will relax the fibers and aid in smoothing out any wrinkles.
Remember to let your piece dry completely while pinned, as this preserves its shape and prevents distortion.
Proper Pinning Technique
When you begin pinning your embroidery for damp stretching, it’s crucial to position the fabric face down on a clean blocking surface, ensuring the top edge aligns with a straight line for precise pin placement.
Follow this proper pinning technique to achieve even tension:
- Pin the center of the fabric first, then work outwards to the edges.
- Use push pins or quilting pins with large heads for easier handling.
- Stretch the fabric tightly, avoiding over-stretching, especially around intricate stitches.
- After pinning, lightly mist with water and allow it to dry completely before removing the pins for ideal results.
Ideal Dampening Methods
Achieving the best results in damp stretching your embroidery requires careful attention to the dampening methods you use. Start by lightly spraying the fabric with distilled water, avoiding saturation to protect threads and colors.
Next, pin the embroidery face down on a clean piece of cork, stretching the fabric taut and aligning it with the vertical and horizontal grains—this is an essential step for an even finish. Use quilting pins with large heads for easy handling.
Allow the dampened fabric to dry completely while pinned, which may take several hours or overnight, ensuring a flat and squared-up piece of embroidery.
Common Issues and Solutions
While embroidery can yield beautiful results, common issues like buckling, tight stitching, and puckering often arise during the blocking process.
Here are some solutions to address these problems:
- Buckling: Guarantee even tension while pinning to minimize buckling at design edges.
- Tight Stitching: Use a proper stabilizer and maintain consistent tension in the hoop to prevent distortion.
- Puckering: Apply damp stretching to relax fibers; steam stretching helps, but may not eliminate all puckers.
- Color Fastness: Test thread colorfastness on a small area before using moisture to avoid dye running.
Final Touches for Presentation
After addressing common issues during the blocking process, it’s time to focus on the final presentation of your embroidery.
Confirm your piece is completely dry before removing pins to maintain its flatness. Lightly mist the edges with water or spray starch to enhance crispness without damaging stitches.
Use a clean, flat surface for display to prevent creases or distortions while framing or photographing. Incorporate a backing material, like acid-free board, for added support.
Finally, frame your embroidery under glass or acrylic to protect it from dust and damage, showcasing its flatness and intricate details beautifully.






