
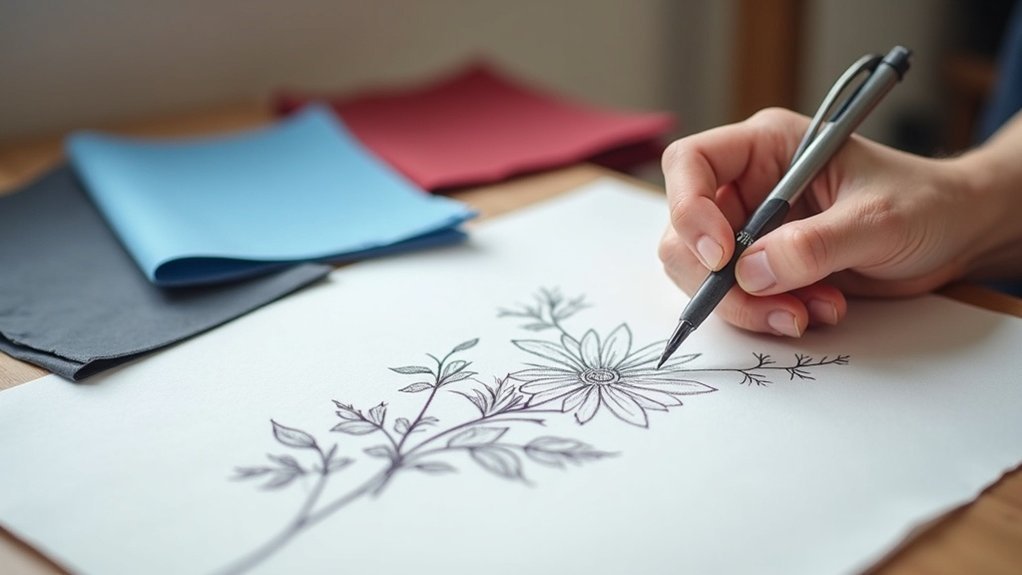
To use carbon paper for embroidery transfer, lay your fabric flat on a hard surface. Place carbon paper, waxy side down, under your stencil, then secure it with tape. Use a sturdy ballpoint pen to trace over your design firmly and consistently. After tracing, check the pattern’s clarity and alignment. Secure the fabric in an embroidery hoop for stitching. There’s more to discover about selecting the right materials and avoiding mistakes in your transfer process.
Key Takeaways
- Select the appropriate carbon paper color based on your fabric type for effective design transfer.
- Secure the carbon paper waxy side down on the fabric and tape the stencil to prevent movement.
- Use a sturdy ballpoint pen to trace the design with consistent pressure for accuracy.
- Lift the stencil to check the clarity of the transferred pattern before finalizing.
- Allow the transferred design to dry completely before starting embroidery to avoid smudging.
Materials Needed for Carbon Paper Transfer
To successfully transfer your design onto fabric using carbon paper, you’ll need a few essential materials.
Start with a sheet of carbon paper—opt for light-colored if you’re working with dark fabrics. You’ll also need a sturdy ballpoint pen for tracing; it helps guarantee clear, precise lines. A design stencil is vital to transfer a pattern accurately.
Lay your fabric flat on a hard surface to prevent shifting. Place the carbon paper waxy side down and align the stencil on top. With firm pressure from the pen, trace the design to ensure a clean transfer before lifting the stencil for inspection.
Preparing Your Fabric and Carbon Paper
Before you begin the transfer process, it’s essential to prepare your fabric and carbon paper properly.
Lay your fabric flat on a hard, stable surface to guarantee accuracy during the transfer. Choose the right carbon paper color; use white or yellow for dark fabrics and blue or red for light fabrics.
Place the carbon paper on the fabric with the waxy side facing down to make sure the design transfers well. Securely tape your stencil over the carbon paper to prevent any movement.
Finally, double-check that everything is aligned correctly to avoid misalignment while you transfer your pattern.
Tracing the Design Onto Fabric
To trace your design onto the fabric, start by placing your materials on a hard, flat surface for stability.
Confirm the carbon paper is positioned correctly with the waxy side down, and use a ballpoint pen to trace over the stencil with consistent pressure.
After tracing, lift the stencil to check the design quality, making certain every detail is clear before securing your fabric in an embroidery hoop.
Preparing Materials and Setup
Once you’ve gathered your materials, it’s time to set up for tracing your design onto the fabric. Lay the fabric flat on a hard surface and place the carbon paper, waxy side down. Position your stencil over the carbon paper, securing it with tape to avoid movement. Use a ballpoint pen to trace firmly, ensuring you transfer the design clearly onto the fabric. After tracing, lift the stencil and carbon paper to check for any missed areas. The transferred pattern should now be visible, ready for your embroidery work.
| Step | Action | Purpose |
|---|---|---|
| Lay Fabric | Flat on surface | Stability |
| Place Carbon Paper | Waxy side down | Proper transfer |
| Secure Stencil | With tape | Prevent movement |
Proper Tracing Techniques
Proper tracing techniques are essential for achieving a clean and accurate transfer of your design onto fabric.
Start by placing the carbon paper with the waxy side facing down. Secure the stencil with tape to prevent movement. Using a ballpoint pen, trace firmly over the stencil, applying consistent pressure to guarantee the carbon marks the fabric well.
Once you’ve completed tracing, carefully lift the stencil and carbon paper to reveal your transferred pattern. Check for any missed areas that may need re-tracing.
For darker fabrics, opt for lighter colored carbon paper or a white gel pen for better visibility during your transfer embroidery.
Checking Transferred Design Quality
As you lift the stencil and carbon paper, it’s crucial to closely inspect the transferred lines for clarity and completeness.
Look for any faint areas where the tracing may have been missed, as these will need retracing for better visibility. Make sure the embroidered pattern is properly aligned and free from smudges or unintended marks.
If any parts are unclear, reapply the carbon paper and retrace those specific areas to enhance the pattern’s visibility.
Once you’re satisfied with the transferred design, confirm it’s legible and ready for stitching, making certain it meets your embroidery standards for quality.
Tips for Successful Transfer
To guarantee a successful transfer, start by choosing the right carbon paper for your fabric type.
Make certain to secure the fabric properly before you begin tracing to avoid any movement that could misalign your design.
Choose Right Carbon Paper
Choosing the right carbon paper is essential for achieving a successful embroidery transfer, especially since different fabrics and designs require specific types for best results.
For dark fabrics, opt for white or yellow carbon paper to guarantee your design is visible. Kores Carbon Paper is a great choice due to its cost-effectiveness and ability to produce clearer lines with less smudging.
Always place the waxy side facing down against the fabric for an effective transfer. Before diving into your project, test a small piece of fabric to check for any potential transfer issues.
Consistency in brand selection is key!
Secure Fabric Properly
Securing your fabric properly is essential for a successful transfer, and there are several effective techniques to confirm everything stays in place.
Lay your fabric flat on a hard surface to prevent shifting. Use tape to secure the carbon paper and transfer pattern, minimizing misalignment while you trace.
If you’re using an embroidery hoop, confirm the fabric is tight within the inner hoop before securing the outer hoop. Trim the corners of the fabric for a neater appearance and to help keep it flat.
Avoid lifting or moving any components during tracing for a clear, accurate transfer.
Post-Transfer Considerations
Once you’ve transferred your design onto the fabric using carbon paper, it’s important to carefully inspect the pattern for any missed areas to confirm everything is clear before you start stitching.
If you spot any visible carbon lines after stitching, dampen a cotton bud and gently rub the area to remove them. For any additional markings, use a water-soluble pen, as these can be washed away easily.
To remove any visible carbon lines, gently rub the area with a dampened cotton bud, and for extra markings, opt for a water-soluble pen.
To prevent smudging, using an embroidery hoop will help minimize fabric movement and keep your design intact.
Always check fabric care instructions to verify cleaning won’t damage your beautiful work.
Common Mistakes to Avoid
While using carbon paper for embroidery transfer, there are several common mistakes you’ll want to avoid to guarantee a smooth process.
- Waxy Side Down: Always make sure the carbon paper’s waxy side is facing down against the fabric for a proper transfer.
- No Shifting: Avoid moving the fabric or carbon paper while tracing; any shifts can distort your pattern.
- Use a Good Pen: Use a firm, smooth pen to trace. A dull pen may rip the carbon paper or fabric, ruining your transfer.
Additional Transfer Methods to Explore
If you’re looking to expand your embroidery skills, exploring additional transfer methods can enhance your creativity and precision.
Consider using water-soluble pens for direct tracing, which easily wash away, making them perfect for lighter fabrics. Iron-on transfer pencils allow you to create permanent designs by tracing on paper and pressing with a hot iron.
Explore water-soluble pens for easy tracing on light fabrics, or use iron-on transfer pencils for permanent designs with a hot iron.
The prick and pounce technique works well for simpler patterns, while tailor’s chalk offers clean marks that are easily removable.
Finally, printing digital designs on transfer paper can provide permanent or wash-away options. Each of these transfer methods complements your carbon paper techniques beautifully in hand embroidery.






