
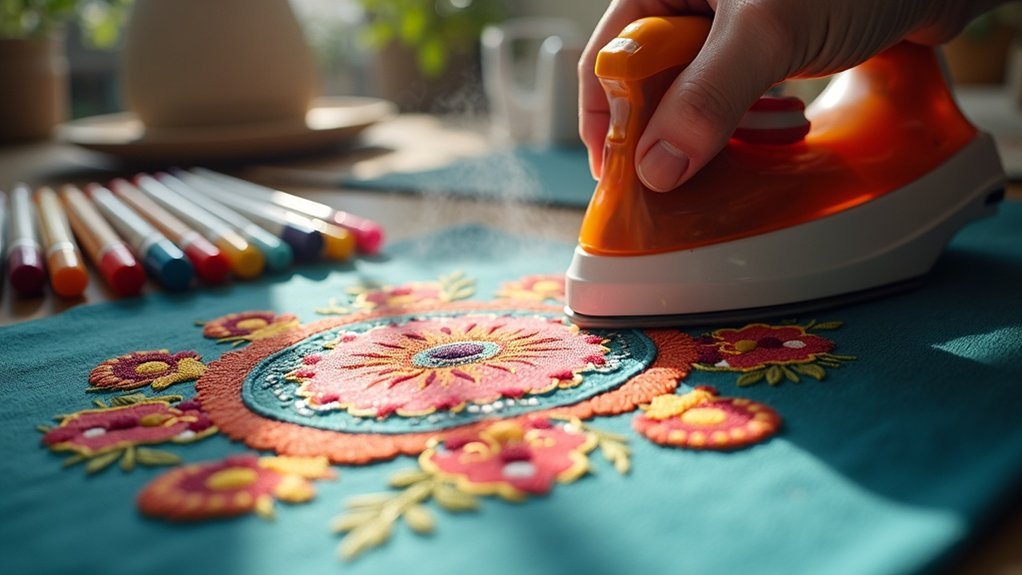
To use heat transfer pens for embroidery, start by selecting a pen suitable for your fabric, preferably one that contrasts with its wrong side. Prepare your fabric by cleaning and ironing it, then secure it in an embroidery hoop. Trace your design using consistent pressure and speed. Next, heat set it with a dry iron, pressing down without moving to prevent smudging. Each step matters for precision, and there’s even more insight on enhancing your embroidery techniques further.
Key Takeaways
- Select a suitable fabric, preferably lighter colors, for better visibility and ink absorption with heat transfer pens.
- Clean and iron your fabric to remove wrinkles and ensure a smooth surface for tracing.
- Use a contrasting ink color for visibility and test the pen on a scrap piece before tracing your design.
- Warm the wrong side of the fabric with an iron to improve ink absorption before transferring the design.
- Follow a precise transfer process, maintaining consistent pressure and speed while tracing for accurate results.
Selecting the Right Heat Transfer Pen
When you’re choosing the right heat transfer pen for your embroidery project, it’s essential to take into account the ink’s permanence first.
Sulky Iron-on Transfer Pens work best on fabrics with at least 35% polyester, as some colors might fade on 100% cotton.
Consider your fabric type; lighter fabrics offer more color choices, while dark fabrics benefit from bold hues like white or yellow.
Opt for a fine tip for detailed designs, ensuring clean lines.
Always test the pen on a scrap piece to confirm ink visibility and transfer effectiveness.
Preparing Your Fabric for Tracing
Before you start tracing your design, it’s crucial to prepare your fabric properly. A clean and ironed surface guarantees better ink transfer and accuracy.
Preparing your fabric is essential for optimal ink transfer and precision in your design work.
Follow these steps:
- Choose the right fabric; lighter colors work best for heat transfer.
- Make sure your fabric is clean and free of dust.
- Iron the fabric to remove wrinkles and warm the wrong side.
- Secure the fabric in an embroidery hoop to maintain tension.
- Test the heat transfer pen on a scrap piece to check visibility and permanence.
The Transfer Process: Step-by-Step
To achieve a successful transfer of your design onto fabric, start by selecting an ink color that contrasts well with the fabric’s wrong side.
Warm the wrong side with an iron to enhance ink absorption. Next, secure your traced patterns against the fabric.
Using a hot, dry iron, press down without moving it to prevent smudging. Lift a corner of the paper to check the transfer; adjust ironing time for darker or lighter results.
For multiple transfers, hold the pen straight up for thinner lines, allowing for precise designs.
This process guarantees your embroidery stands out beautifully on fabric.
Tips for Successful Transfers
For ideal results in transferring your design, ensuring that your fabric is pre-washed and wrinkle-free is essential.
Follow these tips for successful transfers:
- Choose a contrasting ink color for visibility while tracing your design.
- Test the pen on a scrap piece of fabric first to evaluate ink absorption.
- Apply consistent pressure and speed when tracing to maintain fine lines.
- Secure the paper pattern to the fabric with pins to avoid shifting during the heat set.
- Use the appropriate transfer method for your embroidery patterns to guarantee accuracy.
These steps will enhance your transferring patterns and lead to stunning results!
Alternative Methods for Design Transfer
While the tips for successful transfers lay a solid foundation, exploring alternative methods can elevate your design application even further. Consider using water-soluble pens for delicate fabrics, as they leave no permanent marks. The prick and pounce method works wonders for complex embroidery patterns, ensuring precision without ghost lines. A light box tracing technique can help you achieve sharp lines by illuminating your design beneath the fabric. Basting tracing paper secures your design in place for easy removal post-stitching.
| Method | Benefits |
|---|---|
| Water-Soluble Pens | Easily removable, clear lines |
| Prick and Pounce | Precise transfers, no ghost lines |
| Light Box Tracing | Accurate tracing, clean transfers |
| Basting Tracing Paper | Keeps design in place, easy removal |






