
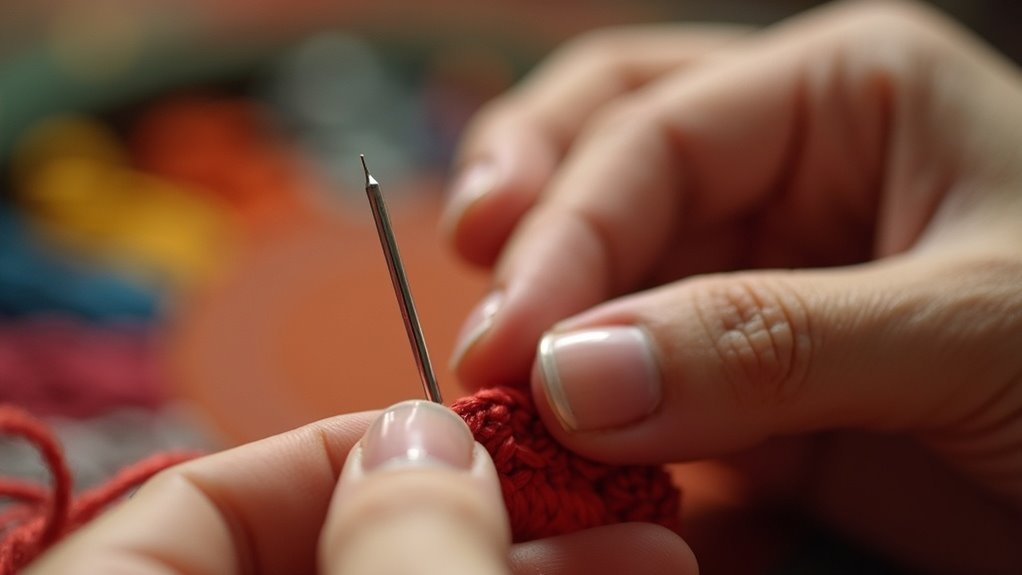
To hold an embroidery needle correctly, grip it firmly between your thumb and index finger, keeping the eye facing you for easy threading. Support the needle with your middle finger for stability, and position it at a slight angle for smoother fabric penetration. Maintain a relaxed grip to reduce fatigue during longer stitching sessions. By refining your technique and exploring different positions, you can enhance your embroidery skills even further. There’s more to discover about mastering your craft!
Key Takeaways
- Hold the needle between your thumb and index finger for optimal control and stability.
- Position the eye of the needle facing you to make threading easier.
- Use your middle finger to support the needle for added stability.
- Maintain a relaxed grip to prevent fatigue during longer embroidery sessions.
- Angle the needle slightly for better penetration through the fabric.
Understanding Needle Anatomy
When you pick up an embroidery needle, it’s essential to understand its anatomy to make your stitching experience smoother and more enjoyable.
An embroidery needle features a slender shaft, a pointed tip for piercing fabric, and a larger eye that accommodates various thread sizes. The length and thickness of the needle vary; shorter needles suit finer fabrics, while longer ones are ideal for thicker materials.
Remember, needles are categorized by type, with embroidery needles having a slightly rounded tip to prevent snagging.
Choosing the Right Needle
Choosing the right needle can make all the difference in your embroidery project. A well-chosen needle enhances your stitching experience.
Selecting the perfect needle is crucial for a successful embroidery project, significantly improving your overall stitching experience.
Consider these tips when selecting your needle:
- Size 7 or 8 embroidery needles are ideal for most hand embroidery.
- Use a ballpoint needle for knits and a sharp needle for woven fabrics.
- Specialty needles can help with techniques like ribbon embroidery.
- Match your needle size to your thread thickness to avoid fabric damage.
- Regularly change your needle to maintain stitch quality.
Proper Grip Technique
With the right needle in hand, mastering your grip technique will greatly enhance your embroidery experience.
Hold your needle between your thumb and index finger, ensuring the eye of your needle faces you for easier threading. Support the needle underneath with your middle finger for stability, allowing smoother stitching motions.
Keep your grip relaxed to avoid fatigue, as tension can lead to discomfort during longer sessions. Position the needle at a slight angle towards the fabric, guiding it effortlessly through the material.
Practice consistent pressure while gripping the needle, and you’ll see improvement in your stitching speed and precision.
Positioning the Needle
To position your embroidery needle correctly, grip it firmly between your thumb and index finger for better control.
Angle the needle at about 45 degrees to make it easier to stitch through the fabric. Keeping your fingers close to the surface will help stabilize your movements, leading to more precise and consistent stitching.
Grip the Needle Firmly
A firm grip on your embroidery needle is essential for precise control during stitching. To guarantee you grip the needle firmly, consider these tips:
- Hold the needle between your thumb and index finger for stability.
- Position the eye of the needle facing you for easy threading.
- Keep your grip relaxed to prevent fatigue during long projects.
- Align the needle at a slight angle for smoother penetration.
- Adjust your grip based on the needle and fabric thickness for comfort.
Angle for Comfort
Maintaining a firm grip on your embroidery needle is just the start; positioning it correctly can greatly enhance your stitching experience. Aim for an angle for comfort between 45 to 60 degrees, which allows smooth movement through your fabric. Keep the eye of the needle facing away from you to make it easier to thread your needle and prevent snagging. Remember to relax your wrist and keep your hand steady. Adjust the angle based on the stitch you’re performing for ideal access.
| Stitch Type | Recommended Angle |
|---|---|
| Basic Stitch | 45 degrees |
| French Knot | 60 degrees |
| Backstitch | 45 degrees |
| Satin Stitch | 30 degrees |
Threading the Needle
While threading a needle might seem simple, a few helpful techniques can make the process smoother. Here are some tips for effective threading the needle:
- Cut the thread at a sharp angle for easier insertion.
- Wet the end of the thread slightly to help flatten it.
- Consider using a needle threader if you struggle with alignment.
- Ascertain the thread tail hangs down to maintain control while stitching.
- If the thread resists, make a fresh cut to prevent fraying.
With these strategies, you’ll find threading the needle is less of a chore and more of a delightful part of your embroidery journey.
Inserting the Needle Into Fabric
Grasp the embroidery needle firmly by its eye with your thumb and forefinger, as this gives you better control for inserting it into the fabric.
Position the needle at a slight angle to guarantee it pierces smoothly. Insert the needle from the back of the fabric to the front, keeping the fabric taut to prevent puckering.
Push the needle through until the eye is just above the surface, making threading easier. Maintain steady, gentle pressure as you pull the needle through, making sure the thread stays untangled.
With practice, you’ll master inserting the needle into fabric effortlessly!
Maintaining Control During Stitching
To achieve precise and fluid stitching, hold the embroidery needle between your thumb and index finger, allowing the needle’s body to rest comfortably against the side of your middle finger.
- Keep your grip relaxed to avoid tension and fatigue.
- Position the needle with the eye facing you for better visibility.
- Use your dominant hand to guide the needle, while your other hand stabilizes the fabric.
- Maintain a consistent rhythm and pace to enhance control.
- Focus on building muscle memory for improved technique over time.
With practice, you’ll hold the needle confidently and create beautiful designs!
Practicing for Improvement
To improve your embroidery skills, focus on practicing different hand positions and techniques regularly.
Set aside consistent practice sessions where you can work on precise stitching exercises to enhance your control and speed.
Hand Position Techniques
While mastering embroidery, the way you hold the needle can considerably impact your technique and comfort.
To improve your skills, consider these hand position techniques:
- Hold the needle between your thumb and index finger, parallel to the fabric.
- Position your middle finger underneath for added support.
- Keep a relaxed grip to avoid tension and fatigue.
- Rotate the needle slightly to find the most comfortable angle.
- Experiment with different hand positions to discover what enhances your stitching.
Consistent Practice Sessions
Regular practice sessions are key to mastering embroidery and can truly transform your skills over time.
Even dedicating just 15-30 minutes daily can boost your stitching speed and accuracy considerably. Set specific goals for each session, like mastering a new stitch, to track your progress and stay motivated.
Incorporate a variety of techniques to enhance muscle memory and versatility. Keeping a dedicated notebook to document your practice helps reinforce learning and growth.
Engaging in community challenges adds structure and inspiration, making consistent practice sessions even more rewarding.
Focused Stitching Exercises
Building on your consistent practice sessions, focused stitching exercises can take your skills to the next level.
To enhance your technique, try these tips:
- Hold your needle relaxed between your thumb and forefinger.
- Experiment with grip styles like pencil and knife grips.
- Create small, consistent stitches to master satin stitch.
- Vary the angles of needle insertion and exit for better accuracy.
- Dedicate specific practice time to refine your needle handling.






