
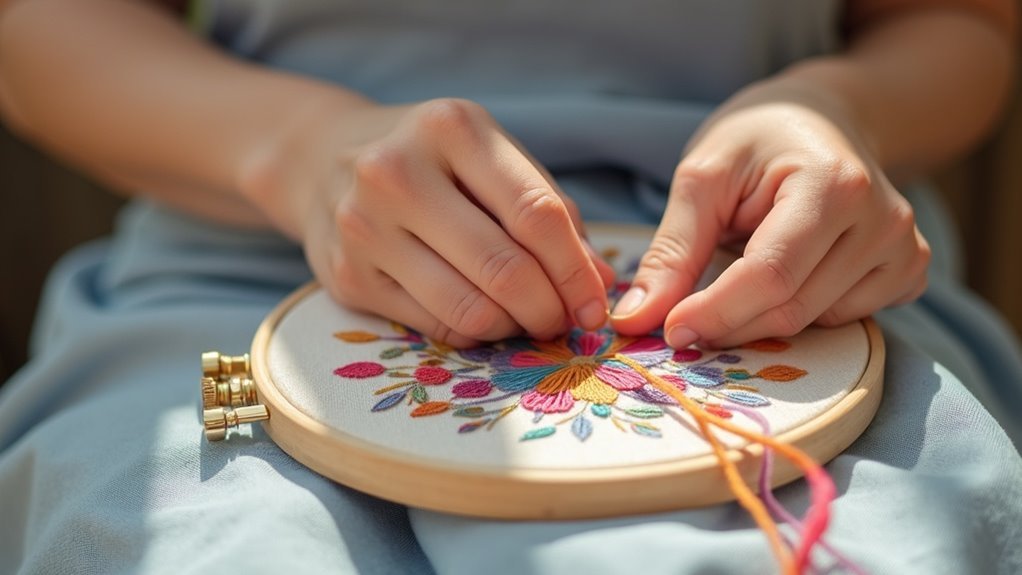
To start your embroidery without a knot, cut your floss to about 36 inches and fold it in half to create a loop. Thread your needle through this loop, leaving a short tail on the back. Make your first stitch and pass the needle through the loop at the back to secure it. This technique not only gives a clean finish but also simplifies stitching. Keep going, and you’ll uncover more helpful tips for your embroidery journey!
Key Takeaways
- Cut your embroidery thread to about 36 inches and fold it in half to create a loop for a no-knot start.
- Thread the needle through the loop, leaving a short tail on the back of the fabric.
- Make your first stitch, passing the needle through the loop on the back to secure it neatly.
- Weave the thread into the fabric’s back for a secure finish without bulk.
- Experiment with different techniques and seek feedback from the embroidery community for improvement and confidence.
Understanding the No-Knot Technique
When you’re starting your embroidery, mastering the no-knot technique can make a significant difference. This method uses two strands of floss, folded in half to create a loop that anchors your thread without a knot.
To execute it, bring the needle up through your fabric, thread the needle back down through the same hole, and secure the loop with a straight stitch. This technique not only offers a clean and neat appearance on both sides but also reduces bulk when ironing.
Perfect for beginners, the no-knot technique enhances your projects, especially with slippery threads like invisible thread.
Preparing Your Thread
To get your embroidery thread ready, cut a length of about 36 inches to keep tangling at bay.
If you’re using two strands, strip one strand from the floss and fold the remaining two for threading.
This simple prep will guarantee a smooth start to your stitching project.
Thread Length Considerations
While preparing your thread for embroidery, cutting it to double the usual length, like 36 inches instead of 18, gives you ample working space and reduces the hassle of re-threading.
Consider using longer thread lengths for your working thread, as this allows for more continuous stitching. For two-strand stitching, strip one thread from the six strands of embroidery thread, ensuring balanced appearance and easier handling.
After cutting and stripping, fold the thread in half to create a loop, which is essential for starting without a knot. Always check that your cut ends are smooth and free from tangles for a seamless experience.
Stranding and Looping Technique
Mastering the stranding and looping technique can greatly enhance your embroidery experience.
Start by cutting your thread to double the usual length—about 36 inches. If you’re using two strands, strip one from the six-strand floss, then fold the remaining thread in half and thread your needle.
Bring the needle up through the fabric, leaving a loop on top. Move forward a stitch length and then bring the needle back up through that loop to anchor it.
This method eliminates the knot on the back, giving you a clean and tidy finish while minimizing bulk in your embroidery project.
Executing the No-Knot Start
A no-knot start is an essential technique that can elevate your embroidery projects by creating a clean and professional look.
To execute it, cut a length of embroidery floss double your usual length, about 36 inches, and fold it in half to form a loop.
Thread the needle through the loop from the folded end, leaving a short tail on the back. As you make your first stitch, guarantee the needle passes through the loop on the back, anchoring the thread without a knot.
This method guarantees a tidy appearance, perfect for stitches like stem stitch, minimizing waste knots.
Benefits of Starting Without a Knot
Starting your embroidery projects without a knot not only simplifies your stitching process but also markedly enhances the overall appearance of your work.
By using this technique, you achieve a neater finish on the back of your fabric, eliminating the bulkiness that knots create. It allows for smoother stitching, making it easier to adjust your needle’s movement without snagging.
Additionally, starting without a knot helps reduce waste, as you won’t need extra thread to tie knots. This clean start method is especially beneficial for beginners, reducing frustration from tangled threads and messy backs, ultimately making your embroidery experience more enjoyable.
Alternative Starting Techniques
When it comes to beginning your embroidery projects, there are several alternative techniques that can help you achieve a smooth start without the hassle of knots. Here are a few methods to evaluate:
| Technique | Description | Best For |
|---|---|---|
| No-Knot Start | Uses two strands to create a loop on the back. | Clean, invisible starts |
| Waste Knot | Ties a knot at the thread’s end while working backstitches. | Easy, quick start |
| Long Tail Method | Secures the tail as you stitch, eliminating visible knots. | Neat finishes |
Try these techniques to enhance your embroidery experience and serve others with your beautiful creations!
Ending Your Stitches Neatly
To end your stitches neatly, start by weaving the thread into the fabric’s back, securing it without leaving marks on the front.
If you have isolated stitches, loop the needle through the working thread for a secure finish before snipping.
Finally, make sure to cut the thread cleanly to keep your fabric looking polished and professional.
Weaving Thread Into Fabric
Ending your embroidery stitches neatly is essential for a polished finish. To weave thread into fabric effectively, flip your work and guide the needle through existing stitches to secure the thread, anchoring it properly.
For isolated stitches, loop the needle through the working thread before cutting, ensuring no visible marks on the front. Always check that your technique doesn’t leave loose ends or fraying, as this can compromise durability.
Snip the thread close to the fabric surface after securing it to prevent bulk. This careful attention will help you finish your embroidery beautifully and serve others with pride.
Looping for Secure Finish
Securing your embroidery stitches is essential for a clean and professional finish. To achieve this, flip the hoop and weave your needle behind existing stitches to secure the thread. For isolated stitches, create loops on the back before snipping to anchor the thread securely. If you’re changing colors, repeat this finishing technique by running your needle through a few stitches on the back. Always opt for discreet stitches to avoid bulk. Double-check that the thread is firmly secured before cutting, ensuring your embroidery maintains its integrity.
| Step | Action | Purpose |
|---|---|---|
| 1 | Flip the hoop | Access the back |
| 2 | Weave needle behind stitches | Secure the thread |
| 3 | Loop before snipping | Anchor thread securely |
| 4 | Use discreet stitches | Prevent bulk on the back |
Snipping for Clean Edges
Achieving clean edges in your embroidery is essential for a polished look, and it starts with how you snip your threads. Once you’ve secured your thread by weaving it through existing stitches on the back of your embroidery, make sure to snip it close to the fabric. This prevents unraveling and creates a neat appearance.
For isolated stitches, loop the needle through the working thread to secure it without leaving threads with knots. Always double-check that your finishing technique maintains a clean finish on the front, avoiding any bulk or visible knots on the back.
Enjoy your beautifully finished piece!
Tips for Successful Embroidery
When diving into the world of embroidery, you’ll find that a few key tips can make all the difference in your success.
Start with the no-knot start technique using two strands of floss for a clean and secure beginning. Cut your thread to double the usual length, making stitching smoother and minimizing changes.
Pay attention to stitch direction for a consistent texture across your work. Keep your workspace organized to enhance efficiency and focus.
Finally, don’t hesitate to experiment with various stitching techniques. Sharing your experiences will foster growth, not just for you, but for the entire embroidery community.
Community Feedback and Experiences
Embroidery isn’t just about the stitches you make; it’s also about the community you connect with.
Many beginners find that starting with a loop on the underside helps them begin stitching quickly and easily, providing a clean finish. Community feedback emphasizes experimenting with various techniques, like the waste knot and hanging tail, to discover what suits you best.
Experienced embroiderers remind you to contemplate thread direction for smooth results. Sharing tips fosters a supportive environment, encouraging everyone to improve.






