
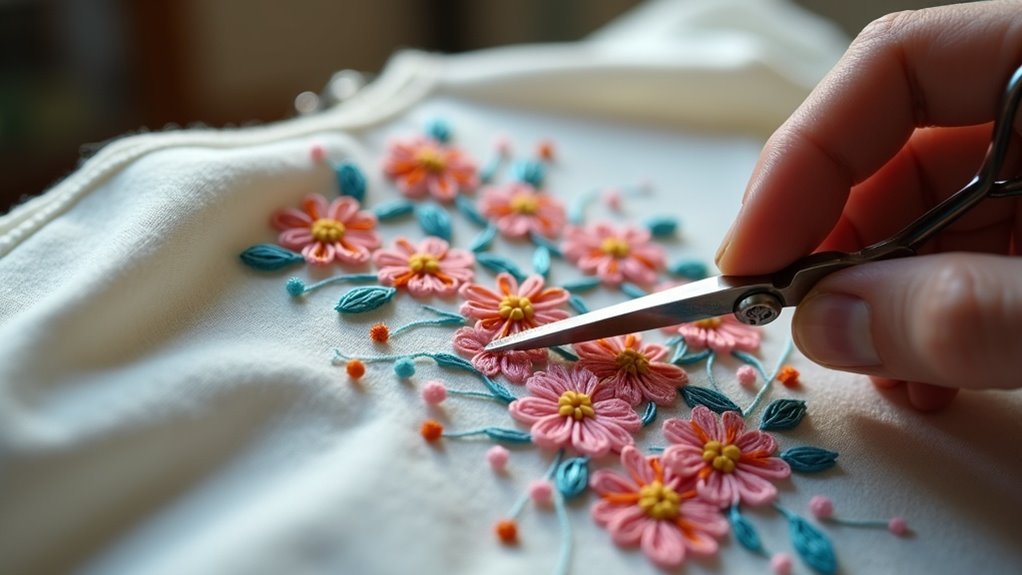
Yes, you can remove embroidery from a shirt, but it requires the right tools and techniques. Start by gathering a seam ripper, embroidery scissors, and tweezers. Carefully cut the threads from the back of the embroidery, then pull the cut ends through the fabric. Be cautious with delicate or thick fabrics to avoid damage. After removal, make sure to clean the area thoroughly. For detailed methods and tips on specific fabric types, continue on for more insights.
Key Takeaways
- Yes, embroidery can be removed from a shirt using tools like a seam ripper, embroidery scissors, and tweezers.
- The removal process varies based on fabric type; delicate fabrics may require additional care, like fabric stabilizers.
- Always test removal methods on hidden areas of the fabric to prevent visible damage.
- Work slowly and avoid rushing to minimize the risk of fabric distortion or holes.
- If damage occurs or the removal seems complex, consider seeking professional help for restoration.
Tools and Materials Needed
When tackling the task of removing embroidery from a shirt, having the right tools at your disposal is essential for a successful outcome. A seam ripper is invaluable for cutting threads, while embroidery scissors allow for precise snipping, especially with tight stitches.
If you’re working with delicate fabrics, consider using a fabric stabilizer to prevent warping during the removal process. Tweezers are perfect for pulling out loose threads, ensuring you don’t miss any remnants.
Finally, a lint roller or sticky tape helps clean up any tiny bits of thread left behind, making the process efficient and effective.
Understanding the Type of Embroidery
To effectively remove embroidery from your shirt, you need to understand whether it’s machine or hand-stitched, as this greatly impacts the removal process.
The type of fabric also plays an essential role; knowing if it’s cotton, polyester, or a blend will guide your choice of tools and techniques.
Additionally, be aware of common mistakes that can occur during removal, as they can lead to damage if not addressed.
Machine vs. Hand Embroidery
Embroidery comes in two primary forms: machine and hand.
Machine embroidery features uniform, tightly secured stitches, making removal challenging and often requiring specialized tools like stitch erasers.
In contrast, hand embroidery employs looser stitches, such as backstitch or running stitch, which can be easier to pick apart, especially on delicate fabrics.
It’s crucial to identify the type of embroidery before selecting removal techniques, as improper methods can lead to fabric damage.
Always test your removal approach on a hidden area first to verify it won’t adversely affect the garment.
Knowing the differences helps you choose the best strategy for your needs.
Fabric Types Impact Removal
Understanding the fabric type greatly influences how you approach removing embroidery from a shirt. Thicker fabrics like denim withstand the embroidery removal process better than delicate fabrics such as silk or lace.
Machine-embroidered designs, with their tighter stitches, present more challenges than hand-stitched ones, which are easier to pick apart. Fabrics with a high thread count, like cotton blends, may need specialized tools for effective removal, while lightweight fabrics benefit from a stabilizer.
When dealing with stretchy fabrics, take your time to avoid distorting their shape. Always test your method on a hidden area first to gauge potential damage.
Common Mistakes Identified
While you may feel confident about removing embroidery, several common mistakes can hinder your success. Understanding the type of embroidery is vital for effective cutting and removing.
Here are some pitfalls to avoid:
- Ignoring the fabric type, especially with delicate fabrics, can lead to damage.
- Using the wrong tool, like a seam ripper, without knowing the embroidery technique can exacerbate mistakes.
- Failing to test your method on a hidden area first might result in visible damage.
If you’re unsure, consider seeking professional services to guarantee a clean removal without lasting embroidery mistakes.
Step-by-Step Guide to Removing Embroidery
To start removing embroidery from your shirt, gather essential tools like a seam ripper, embroidery scissors, and tweezers.
You’ll follow a step-by-step process to guarantee a clean removal without damaging the fabric.
Let’s walk through each step to achieve the best results.
Tools Needed for Removal
When you’re ready to remove embroidery from a shirt, having the right tools on hand makes the process much smoother. Here’s what you should gather:
- Seam ripper: Essential for cutting threads without damaging the fabric.
- Embroidery scissors: Perfect for precise snipping of stitches.
- Tweezers: Useful for pulling out loose threads efficiently.
Additionally, a lint roller or sticky tape can help clean up stray bits afterward.
If you’re working with delicate fabrics, using a fabric stabilizer is a good idea to prevent damage.
Good lighting and a magnifying glass enhance visibility, making your task easier and more effective.
Step-by-Step Removal Process
Removing embroidery from a shirt involves a straightforward, step-by-step process that guarantees you can do it effectively without damaging the fabric.
Start by flipping the shirt inside out and, if it’s delicate fabric, cover the right side with tape for protection.
Use a seam ripper to carefully cut the threads on the back of the embroidery, working in small areas.
After cutting, flip the shirt over and use tweezers to pull the cut ends through.
Finally, employ a lint roller to remove any leftover thread bits, check for missed threads, wash, and iron to restore appearance.
Removing Embroidery From Delicate Fabrics
While delicate fabrics like silk or lace can add elegance to a garment, their vulnerability makes removing embroidery a meticulous task. To guarantee success, follow these steps:
Delicate fabrics like silk and lace enhance elegance, but removing embroidery requires careful attention to avoid damage.
- Use a fabric stabilizer to prevent warping or damage.
- Opt for a smaller seam ripper or needle to minimize snagging.
- Work slowly and gently to tease out each embroidery stitch, avoiding tugging.
Always test your method on a hidden area first.
After removing the embroidery, wash the fabric according to care instructions and lightly iron it to restore its original appearance. Your careful attention will help maintain the fabric’s beauty.
Removing Embroidery From Thick Fabrics
If you’re dealing with thick fabrics like denim or canvas, removing embroidery requires a careful approach to avoid damaging the material.
Start by using a larger seam ripper or a specialized stitch eraser, as these tools effectively cut through tougher threads. Take your time and work slowly to prevent leaving holes or marks. Always test your removal method on a hidden area of the fabric first.
Avoid tugging on the threads once cut, as this may distort the fabric. Additionally, consider using fabric stabilizers to provide support, minimizing the risk of warping or stretching during the removal process.
Alternative Methods for Removing Embroidery
When dealing with embroidery removal, various alternative methods can simplify the process and protect your fabric.
Consider these expert tips for effective removal:
Explore expert tips for effective embroidery removal to simplify the process and safeguard your fabric.
- Heat Application: Use a steam iron or fabric steamer to loosen threads, especially on delicate fabrics.
- Chemical Removers: Try acetone or specialized embroidery removal solutions to dissolve adhesive used by embroidery machines.
- Stitch Eraser: This tool cuts through threads without damaging the underlying fabric, making it ideal for intricate designs.
For precise removal, a fine-tipped tool like a needle or small seam ripper can help you navigate around surrounding stitches with care.
Dealing With the Aftermath and Repairs
After removing embroidery, you’ll want to address any leftover threads and potential damage to the fabric.
Use a lint roller or sticky tape to pick up stray threads, ensuring a clean finish.
If you notice needle holes, lightly stretch the fabric and apply a warm iron to minimize their appearance.
For visible holes that remain, consider using custom patches or decorative elements to enhance the garment.
Always be cautious with delicate fabrics, evaluating for any damage during removal.
If significant damage occurs, seeking professional help for repairs might be necessary to restore the item effectively and preserve its integrity.
Expert Tips for Best Results
While removing embroidery can seem intimidating, employing the right techniques guarantees a successful outcome. To achieve the best results, keep these expert tips in mind:
- Assess the embroidered area and fabric type before starting; machine embroidery is easier to remove than hand-stitched designs.
- Use a seam ripper or embroidery scissors to cut threads from the back, working slowly to avoid damaging delicate fabrics.
- After cutting, gently pull bits of thread through with tweezers and clean up stray pieces using a lint roller.
Following these steps will assure your shirt looks polished and free of unwanted embroidery.






