
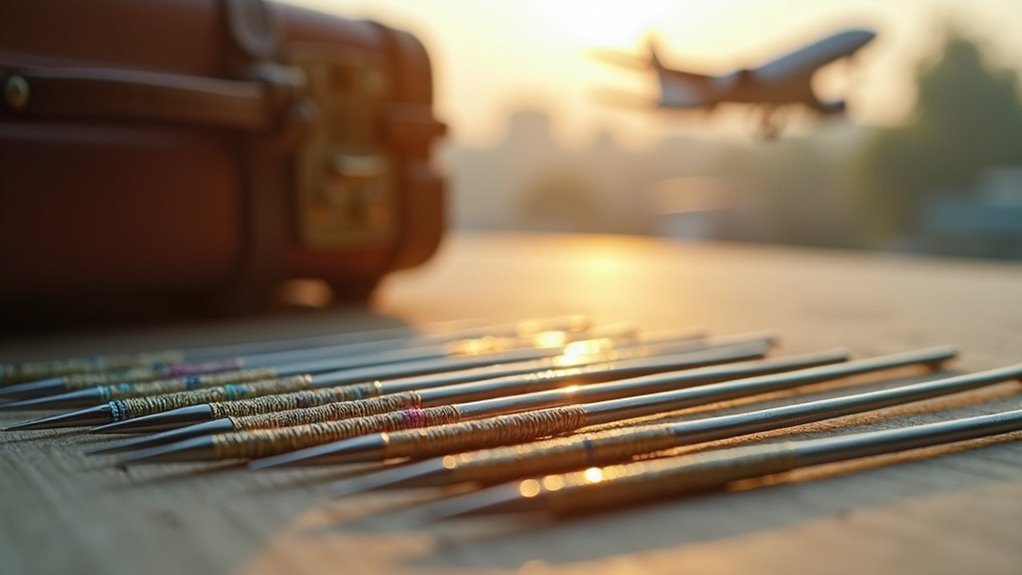
Yes, you can bring embroidery needles on a plane! TSA regulations permit them in both your carry-on and checked luggage. Just make sure to keep your needles in their original packaging or a labeled case to avoid extra inspections. Loose needles may trigger additional checks, so stay organized. Remember to pack a few extras since they’re inexpensive. If you’re curious to learn about tips for in-flight embroidery or alternative cutting tools, keep going!
Key Takeaways
- Embroidery needles are allowed in both carry-on and checked luggage on planes.
- Keep needles in original packaging or labeled cases to avoid extra inspections.
- Loose needles may trigger additional security checks, so pack them securely.
- Blunt and thin design of embroidery needles raises fewer security concerns than scissors.
- Consider bringing extra needles as they are inexpensive and easy to pack.
Official TSA Regulations for Embroidery Needles
When you’re packing for your flight, you might wonder about bringing your embroidery needles along. Fortunately, TSA regulations allow you to carry embroidery needles in both your carry-on and checked luggage.
To make security checks smoother, keep your needles in their original packaging or a labeled case. Since they’re inexpensive, consider bringing extra needles in case some go missing.
Loose needles can trigger extra inspections, so organizing them in clear containers will help expedite the process. TSA treats embroidery needles as crafting tools, facing fewer restrictions than sharp objects like scissors, making your travel crafting experience much easier.
Security Screening Process and Officer Discretion
While packing your embroidery essentials, it’s important to understand how the security screening process works.
Although TSA permits needles in carry-on luggage, experiences can vary due to officer discretion. To guarantee a smooth journey, consider these tips:
- Pack loose needles securely in labeled cases.
- Keep sharp tools organized and visible for quick verification.
- Remain polite and prepared to facilitate the screening process.
Embroidery Needles vs. Other Tools: Key Differences
Understanding the key differences between embroidery needles and other crafting tools can make your travel planning much smoother.
Unlike scissors, which must adhere to strict size limits, embroidery needles generally face fewer restrictions and are allowed in both carry-on and checked luggage. Their blunt and thin design raises fewer security concerns, reducing the likelihood of inspections.
Embroidery needles face fewer travel restrictions than scissors, making them a convenient choice for crafters on the go.
To avoid loss, carry multiple needles, as they’re inexpensive and easily replaceable. Packing them in clear, protective cases can expedite screening.
Always remember, the TSA officer’s discretion plays a role, so keeping your embroidery needles organized and visible can help address frequently asked questions about travel security.
Practical Alternatives to Embroidery Scissors
Embroidery needles might breeze through airport security, but finding effective alternatives to scissors can enhance your travel experience.
Consider these practical options for your next project:
- Nail clippers: These handy tools are perfect for snipping threads and pass TSA regulations as personal grooming items.
- Dental floss containers: A clever option, these can double as thread cutters, keeping your travel sewing hassle-free.
- Pre-cut thread: Cut lengths before your trip to eliminate the need for cutting tools, making stitching in cramped spaces easier.
With these small cutting tools, you’ll be ready to create while on the go!
In-Flight Embroidery: Expert Tips for Success
When you’re stitching in the air, choosing the right project size is key to a smooth experience.
Opt for smaller designs and limit your color palette to keep things organized and manageable.
Don’t forget to pause your stitching during turbulence to protect your work and guarantee your safety!
Project Size Considerations
Choosing the right project size can make all the difference for a successful in-flight embroidery experience.
Opt for small, methodical designs that fit easily within the constraints of tray tables and tight seating. Here are some tips to help you keep your project manageable:
- Use an embroidery hoop up to 8 inches for easier handling.
- Limit your color palette to a few threads to minimize tools.
- Pre-load your needles with necessary thread lengths of 12-18 inches.
Color Palette Management
To make your in-flight embroidery experience smoother, managing your color palette effectively is essential. Limit your colors to a few shades to minimize clutter and tangling.
Pre-load your embroidery needles with selected threads before boarding; this keeps your stitching flow consistent. Organize threads on bobbins or a thread card for quick access, ensuring your workspace remains tidy in the airplane’s limited space.
Opt for a small embroidery hoop, ideally up to 8 inches, to maintain fabric tension. Finally, choose a compact project with a simple design, enhancing your enjoyment while maneuvering those in-flight conditions.
Turbulence Safety Tips
As turbulence can strike unexpectedly, knowing how to handle your embroidery project in-flight becomes essential for a hassle-free experience.
To keep your stitching safe and enjoyable, follow these tips:
- Pause stitching during turbulence to avoid injury and protect your project.
- Secure all materials, stowing them properly to prevent items from falling or tangling.
- Choose smaller projects, like cross-stitch, and pre-load several needles with different thread colors.
International Travel Regulations Compared
While many travelers may assume that all sharp objects are treated equally by international regulations, the reality is quite different when it comes to bringing embroidery needles on a plane.
Generally, most countries allow embroidery needles in both carry-on and checked baggage, making them a convenient choice for crafters. However, always check specific airline policies, as they may impose stricter rules.
In the EU/UK and Asia-Pacific, scissors with blades under 6 cm are permitted, while the U.S. limits them to under 4 inches.
Keeping your needles in clear, protective packaging can help streamline inspections and prevent loss during your journey.






